Alright, listen up! Mike here, and I’m about to drop some knowledge on you about these amazing Greek yogurt bagels. Forget everything you think you know about bagels being complicated. This recipe is so easy, it’s almost criminal. And the best part? They’re actually good for you. We’re talking protein-packed, fluffy, and totally customizable. It’s not fancy, but it tastes amazing.
Why You’ll Love These Greek Yogurt Bagels
Seriously, where do I even begin? These aren’t your average bagels. They’re a game-changer. Here’s the lowdown:
- Simplicity: Only a few ingredients and minimal effort. It’s perfect for a quick breakfast or snack.
- Protein Power: Thanks to the Greek yogurt, you’re getting a serious protein boost to keep you full and energized.
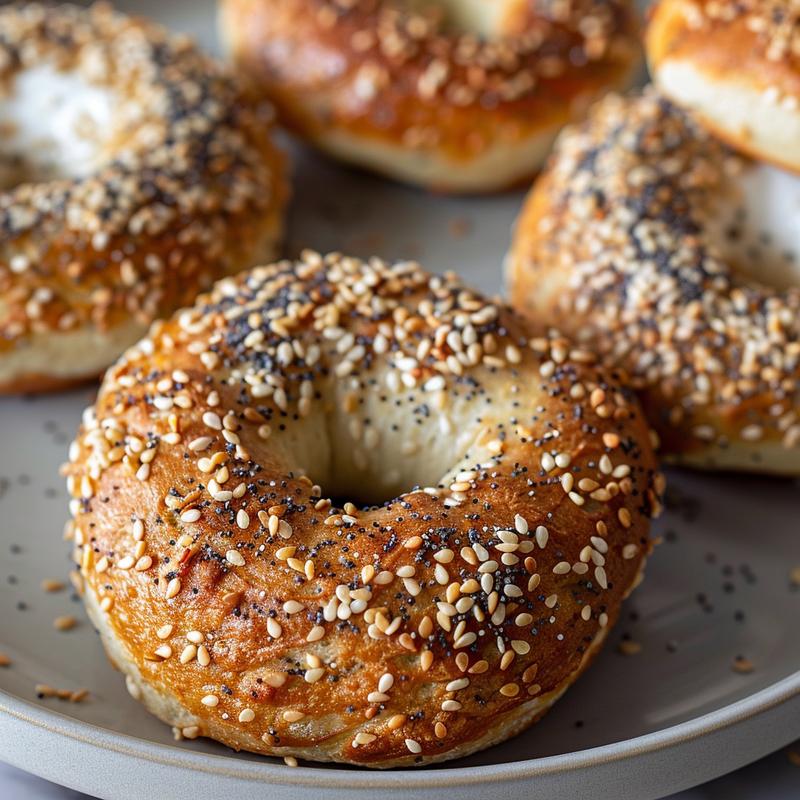
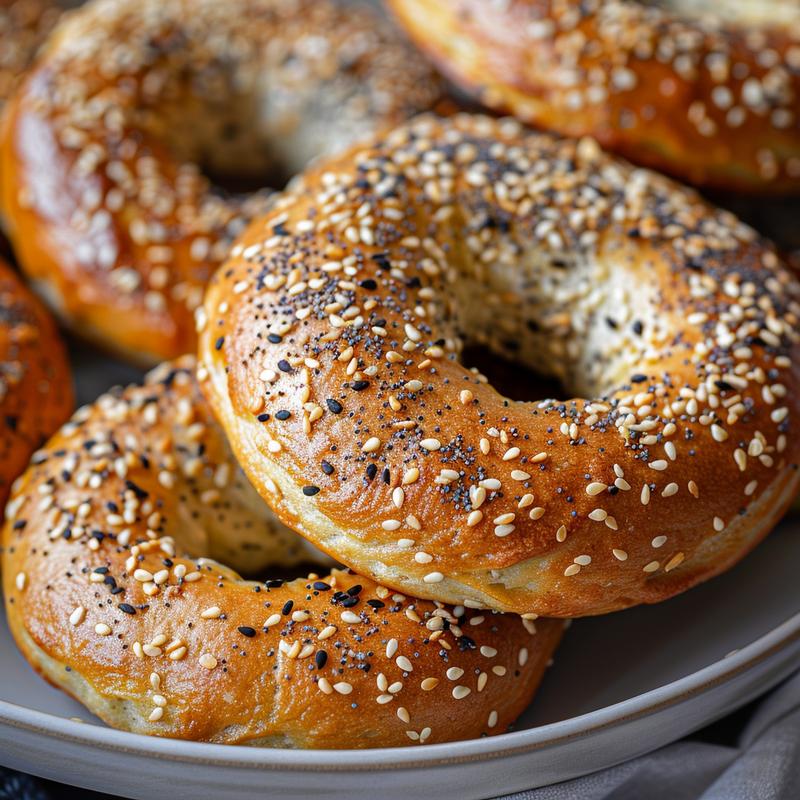
- Customizable: Top them with whatever your heart desires – everything bagel seasoning, sesame seeds, poppy seeds, you name it.
- Texture: These bagels are soft, chewy, and surprisingly fluffy. You won’t believe they’re made with Greek yogurt!
- Healthy-ish: Okay, they’re still bagels, but they’re definitely healthier than the ones loaded with preservatives and sugar.
I’ve made a lot of bagels in my day, and I can tell you, this recipe is a winner. You can make these bagels any day of the week!
Ingredients You’ll Need
Let’s break down the ingredients. Don’t worry, you probably already have most of this stuff in your pantry.
- Flour: 1 cup of all-purpose flour. Bread flour works too if you want a chewier texture.
- Greek Yogurt: 1 cup of plain Greek yogurt. Non-fat or low-fat works best. Make sure it’s plain, not flavored!
- Baking Powder: 1 teaspoon. This is what gives the bagels their rise and fluffiness.
- Salt: 1/2 teaspoon. Just a pinch to balance out the flavors.
- Optional Toppings: Everything bagel seasoning, sesame seeds, poppy seeds, dried onion, garlic – go wild!
These bagels are delicious and simple to make with ingredients you already have. The dough is easy to work with, and the results are fantastic.
How to Make These Greek Yogurt Bagels: Step-by-Step
Alright, let’s get cooking! Follow these steps, and you’ll be enjoying fresh, homemade bagels in no time.
- Preheat: Preheat your oven to 375°F (190°C). Line a baking sheet with parchment paper. This prevents the bagels from sticking.
- Combine: In a large bowl, combine the flour, Greek yogurt, baking powder, and salt.
- Mix: Mix well until a dough forms. It will be slightly sticky – that’s okay.
- Knead: Turn the dough out onto a lightly floured surface and knead for a few minutes until smooth.
- Divide: Divide the dough into 4 equal pieces.
- Shape: Roll each piece into a rope and shape into a bagel. Pinch the ends together to seal.
- Place: Place the bagels on the prepared baking sheet.
- Optional: Brush the bagels with an egg wash (1 egg beaten with 1 tablespoon of water) and sprinkle with your favorite toppings.
- Bake: Bake for 20-25 minutes, or until golden brown.
- Cool: Let cool slightly before slicing and enjoying.
And there you have it! Fresh, homemade Greek yogurt bagels. This recipe is so simple and satisfying. The bagels are perfect for breakfast, lunch, or a snack.
Pro Tips for the Best Greek Yogurt Bagels
Want to take your bagel game to the next level? Here are some pro tips from yours truly:
- Use Room Temperature Yogurt: This helps the dough come together more easily.
- Don’t Overmix: Overmixing can result in tough bagels. Mix until just combined.
- Knead Well: Kneading develops the gluten, which gives the bagels their chewy texture.
- Egg Wash: Don’t skip the egg wash! It gives the bagels a beautiful golden-brown color and helps the toppings stick.
- Experiment with Toppings: Get creative with your toppings! Try different combinations of seeds, spices, and herbs.
These little tips can make a big difference. Trust me, I’ve learned from experience. You can really make these bagels your own with a little creativity. This section should help you master the bagels.
Common Mistakes to Avoid
Even with a simple recipe, mistakes can happen. Here’s what to watch out for:
- Dry Dough: If your dough is too dry, add a little more Greek yogurt, one tablespoon at a time, until it comes together.
- Sticky Dough: If your dough is too sticky, add a little more flour, one tablespoon at a time, until it’s easier to handle.
- Overbaking: Overbaking can result in dry, hard bagels. Keep an eye on them and remove them from the oven when they’re golden brown.
- Underbaking: Underbaked bagels will be doughy and unpleasant. Make sure they’re fully cooked before removing them from the oven.
Nobody’s perfect. Even I mess up sometimes. But by avoiding these common mistakes, you’ll be well on your way to bagel perfection. We’ll get there, don’t worry!
Variations on Greek Yogurt Bagels
Want to mix things up? Here are some delicious variations to try:
- Cinnamon Raisin: Add 1/4 cup of raisins and 1 teaspoon of cinnamon to the dough.
- Everything Bagel: Top with everything bagel seasoning before baking.
- Jalapeño Cheddar: Add 1/4 cup of shredded cheddar cheese and 1 tablespoon of chopped jalapeños to the dough.
- Blueberry: Gently fold in 1/2 cup of fresh or frozen blueberries to the dough.
- Gluten-Free: Use a gluten-free all-purpose flour blend. Keep in mind that the texture might be slightly different.
Don’t be afraid to experiment and create your own unique bagel flavors. These bagels are a blank canvas for your culinary creativity. It might even be gluten free if you want!
How to Store Your Homemade Bagels
Want to keep your bagels fresh for longer? Here’s how to store them properly:
- Room Temperature: Store in an airtight container at room temperature for up to 2 days.
- Refrigerator: Store in an airtight container in the refrigerator for up to 5 days.
- Freezer: Freeze in a freezer-safe bag for up to 2 months. Thaw at room temperature before enjoying.
To refresh day-old bagels, pop them in the toaster or oven for a few minutes. They’ll taste as good as new. To keep them fresh, store the bagels in the right conditions. In this section, we’ve covered all the details.
Frequently Asked Questions (FAQ)
Got questions? I’ve got answers. Here are some frequently asked questions about Greek yogurt bagels:
- Can I use flavored Greek yogurt? No, plain Greek yogurt works best. Flavored yogurt can affect the texture and flavor of the bagels.
- Can I use whole wheat flour? Yes, but the bagels may be slightly denser.
- Can I make these bagels ahead of time? Yes, you can prepare the dough ahead of time and store it in the refrigerator overnight.
- Why are my bagels flat? Make sure your baking powder is fresh and that you’re not overmixing the dough.
- Can I boil these bagels before baking? While not necessary, boiling the bagels for a minute or two before baking will give them a chewier crust.
If you have any other questions, feel free to leave a comment below. I’m always happy to help. If you’re still unsure, you can always ask.
Serving Suggestions: How to Enjoy Your Greek Yogurt Bagels
Now for the best part: eating! Here are some delicious ways to enjoy your homemade Greek yogurt bagels:
- Classic: Toasted with cream cheese.
- Breakfast Sandwich: With eggs, bacon, and cheese.
- Lunch: With deli meat, lettuce, and tomato.
- Avocado Toast: Topped with mashed avocado, everything bagel seasoning, and a drizzle of olive oil.
- Pizza Bagels: Topped with pizza sauce, mozzarella cheese, and your favorite toppings.
The possibilities are endless! Get creative and enjoy your delicious, protein-packed Greek yogurt bagels. These bagels are amazing. These bagels are the best. This recipe will change your life. You can thank me later!

Fluffy & Healthy Greek Yogurt Bagels
Ingredients
Method
- Preheat oven to 375°F (190°C). Line a baking sheet with parchment paper.
- Combine flour, Greek yogurt, baking powder, and salt in a bowl.
- Mix until a slightly sticky dough forms.
- Knead on a floured surface until smooth.
- Divide the dough into 4 equal pieces.
- Roll each piece into a rope and shape into a bagel, pinching the ends to seal.
- Place bagels on the baking sheet.
- Optional: Brush with egg wash and sprinkle with toppings.
- Bake for 20-25 minutes, or until golden brown.
- Let cool before slicing and enjoying.
Notes
Loved this recipe? Save it to your favorite Pinterest board so you can easily find it later! ✨